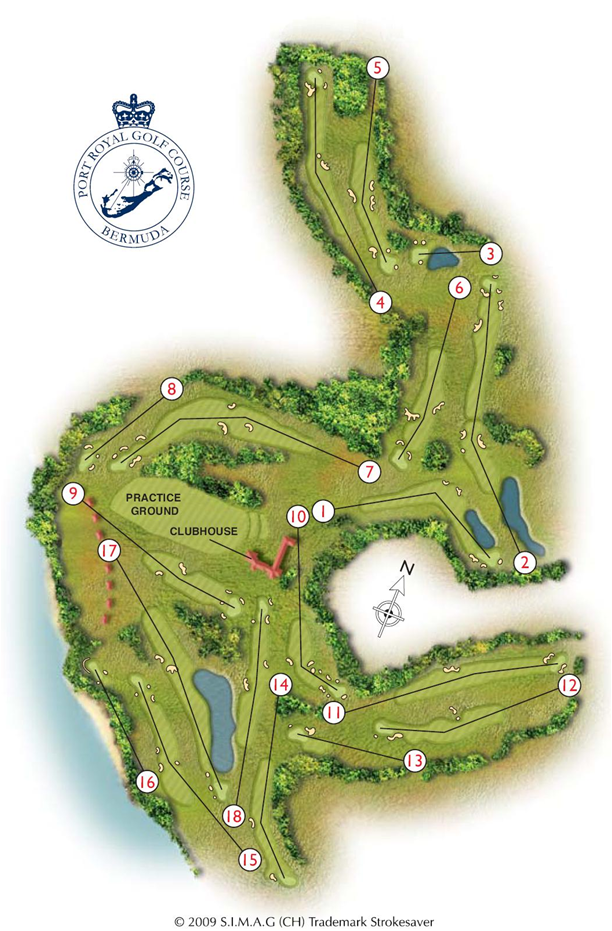
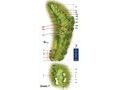
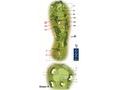
Course Tour
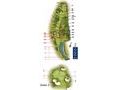
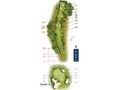
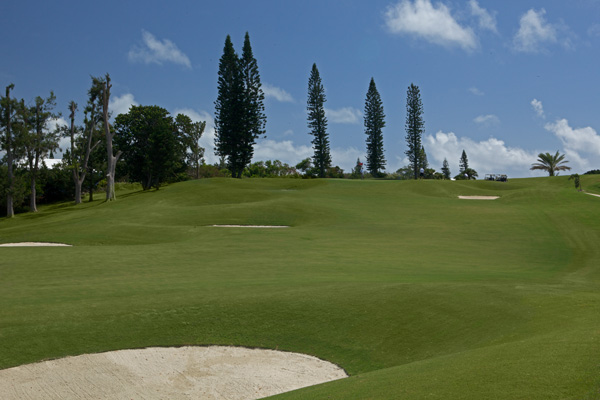
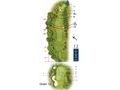
Hole 1
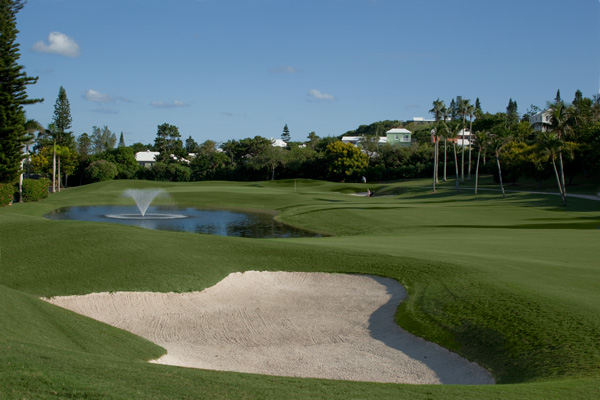
438 yd – par 4
A dogleg with a downhill opening tee shot sees trouble left and right. Big hitters beware of the pond lying in wait. A well protected opening green with water and sand to punish any errant approach shots.
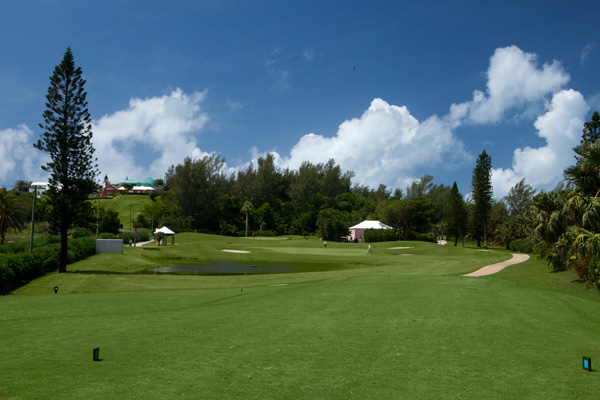
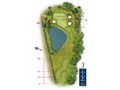
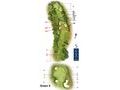
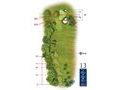
Hole 2
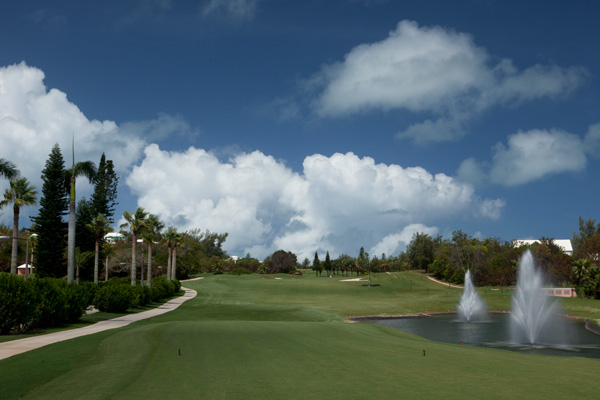
567 yd – par 5
This is a serious par 5, three-shot hole. Water off the tee gives way to a left to right sweeping dog leg, trees left and right with bunkers to threaten the off-centre shot. You will need to play for position on the 2nd shot. This gives way to a short iron approach to a raised green well protected on all sides by deep bunkers.
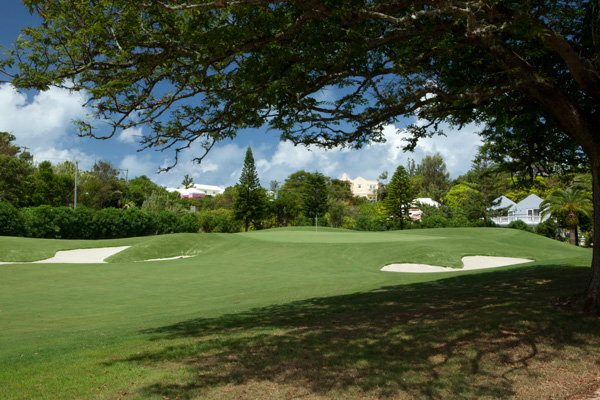
Hole 3
148 yd – par 3
A fairly short but challenging par 3 with a lake covering most of the ground between the teeing area and the hole. The large green displays some interesting subtleties and is well defended by large traps. You will need all your concentration on this picturesque hole.
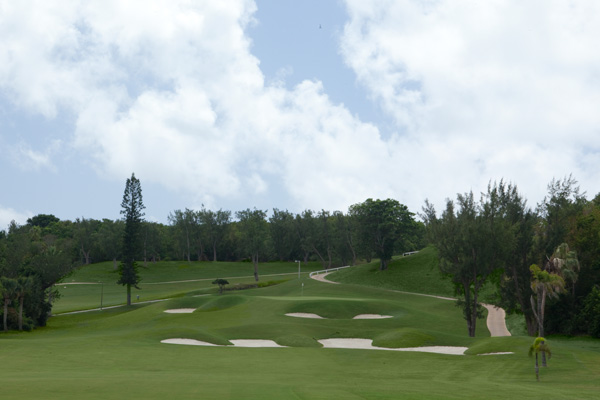
Hole 4
458 yd – par 4
A stunning dogleg par 4 which requires a well struck tee shot to the corner – beware of the bunkers guarding the right side! Your second shot is to a raised green, well protected by deep bunkers. An off line hit can end up in serious trouble here. The three sectioned green will also require plenty of care. It is stroke index 1 and you will understand why.
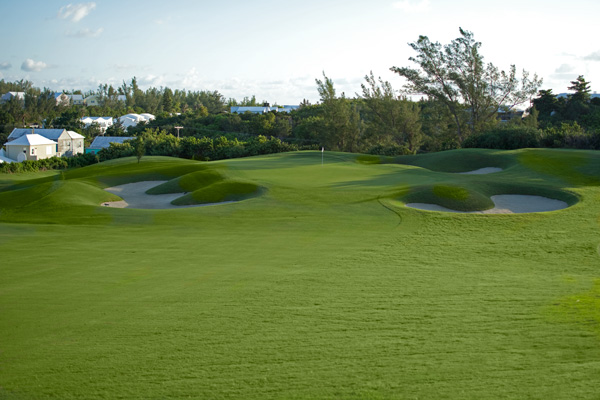
Hole 5

380 yd – par 4
Do not be fooled into thinking this is respite time! A right to left dogleg, bunkered on both sides, requires a good straight hit to open up one of the biggest greens on the course. Get it wrong here and the green will bite you hard.
Hole 6
370 yd – par 4

A straight away shot is required, but play conservatively. The bunker complex is designed to catch the big shot here. The second shot requires skill and judgment. The raised green is surrounded by a vicious run off and bunkers that will demand all your skill to get the ball close to the pin.
Hole 7
517 yd – par 5
A long, sweeping dogleg where risk and reward will pay off. But watch out from the tee as bunkers are positioned to catch an off line tee shot. The elevated green is large and undulating creating an exposed position – but don’t let the breathtaking views distract you.
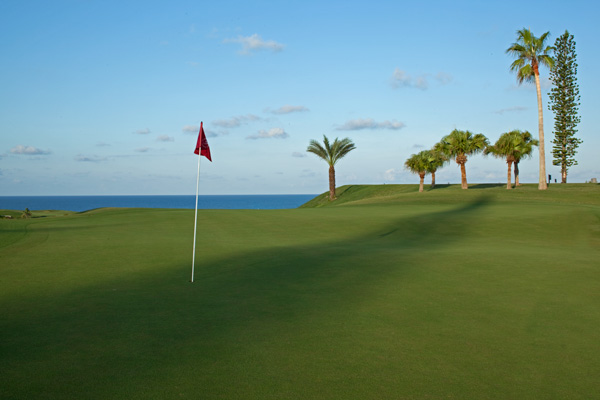
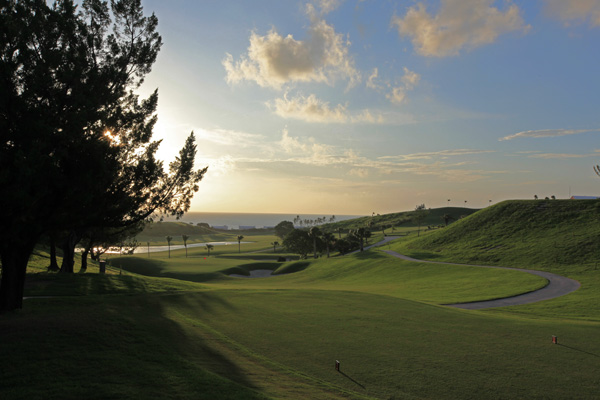
Hole 8
213 yd – par 3

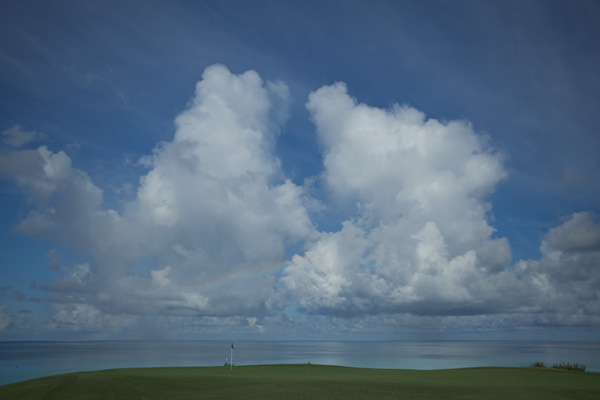
This is a demanding par 3 and the large green perched on the ocean will present the golfer with a challenge. Bunkers surround the target and beware – the ocean awaits the long ball. A par here is a hard-earned achievement.
Hole 9
383 yd – par 4
A challenging tee shot, straight up hill between the well positioned traps, will leave you with a long second to an elevated green. Get this wrong and one of the pot bunkers will snap you up. The green is a challenge in itself with some interesting breaks on it. Your work is not done till you see the ball drop!
Hole 10
350 yd – par 4
A short par 4, dogleg left. A well positioned tee shot is required here, as the well bunkered fairway will catch the risk-taker. A gentle rise reveals a large, contoured green. Make sure you find the right area of the green with your second shot.
Hole 11
443 yd – par 4

A long, straight, downhill par 4. Take time to enjoy the stunning views of both sides of the island before you tee off. The green is not visible from the tee but a good drive, favouring the right side, will set you up for a downhill second shot onto a well guarded green. The big hitter could find themselves with a wedge for their second here, depending on the wind direction. The green is well contoured and will provide some challenges for a badly positioned approach.
Hole 12
383 yd – par 4
A good, testing par 4. An up hill tee shot over the rise, being careful of the fairway traps positioned on the right side, will leave a short shot to a very tight target. The green is well bunkered and you will need precision to get the ball close here. Watch out for the run offs.
Hole 13
235 yd – par 3
A very demanding par 3 downhill to a kidney shaped green. Some punishing run offs and well placed bunkers require a good, solid, straight shot.
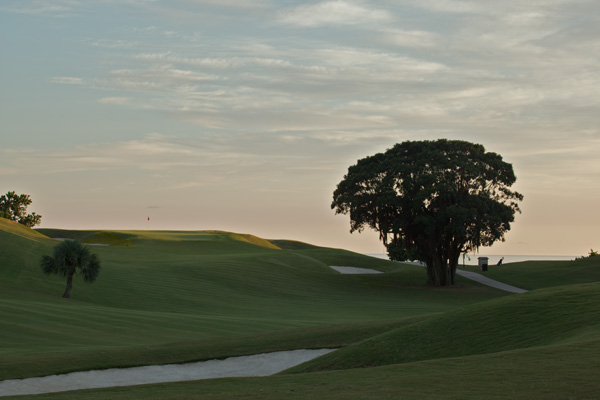
Hole 14

393 yd – par 4

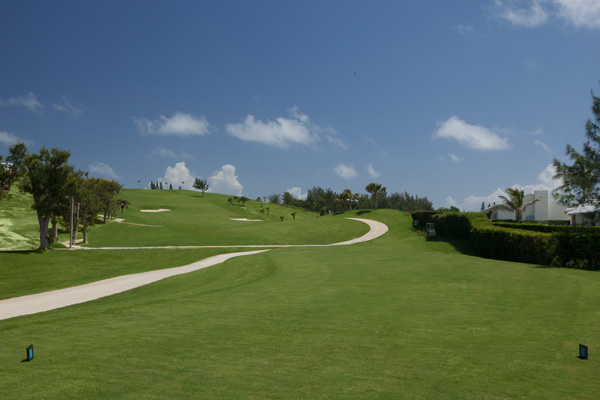
This is the start of a spectacular run home. A well struck, accurate drive is required to keep the ball in play here. The elevated tee leads down to a dogleg left, tree lined on the left with a large fairway trap on the right that will collect the errant tee shot. A demanding second shot takes you to a large, elevated green that will not be visible for a player who is out of position from the tee. Beware of the steep run offs to the right of the green. There are some good pin positions on this three-contoured green.
Hole 15
412 yd – par 4

A dogleg to the right, with the ocean on the left and a steep run off to the right will be the initial issues the golfer faces. Two well placed traps on the left of the fairway must be avoided, so play for position from this tee. A risk/reward shot is available with a well struck drive down the right leaving a short iron in to a well protected, undulating green. Achieving a par here is a challenge.
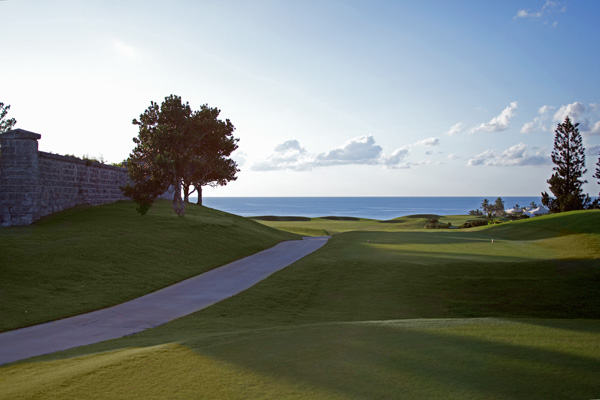
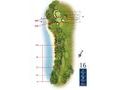
Hole 16
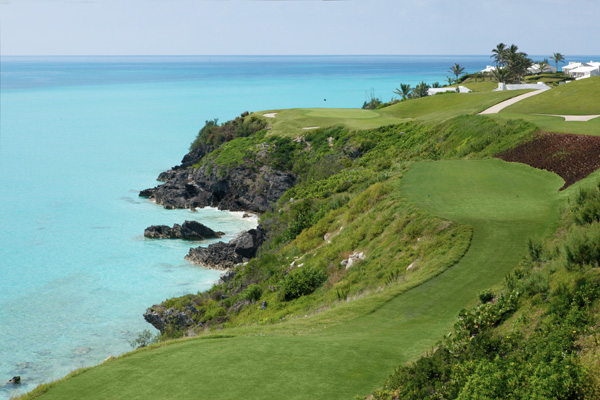
235 yd – par 3
This is truly one of the most spectacular holes in world golf. There are four teeing areas so golfers of all standards can play this hole. The tee shot will require a solidly hit shot across the ocean to a green perched high above the ocean on its own peninsular, A well bunkered green offers the player a small target to find and, with the prevailing winds, this hole has the ability to fool the strongest of minds. A shot to the right will be safe from the ocean but missing the traps will be a challenge. Good Luck.
Hole 17
507 yd – par 5

The prevailing wind will punish you here and a well positioned tee shot is necessary. The water on the left will make the big hitter think and the well trapped right side will certainly favour the conservative player. The second shot is all about position and an accurate lay up is required to leave you with a challenging third shot to a raised green, but beware of the run off. An undulating green caps off this challenging par 5.
Hole 18
410 yd – par 4

A long, straight, uphill par 4 requiring a well struck tee shot to a tiered fairway with bunkers left and right – this is a visually excellent hole . The second shot to a raised green will test your skill set and be sure to take an extra club for this shot to the three tiered front to back sloping green. You will face a constant challenge to the end on this hole.